HTML printer friendly headers and footers

In this post you will find the most important tips about printing headers and footers on each page of your pdf document from an html template.
The document needs to have the following:
- The logo of the company in the top left and the identification data in the top right on each page
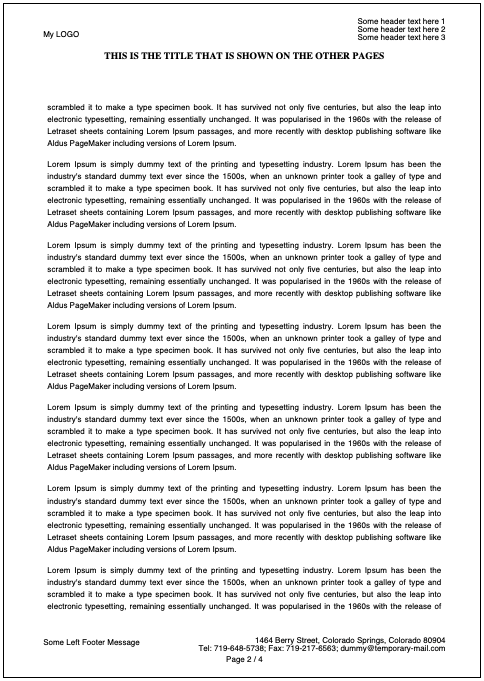
- The title on each page, regardless of the content height
- Some motto in the bottom left and the address in the bottom right of each page
- A counter with the current page and all of the pages in the bottom center of each page
To understand, it's something like this:

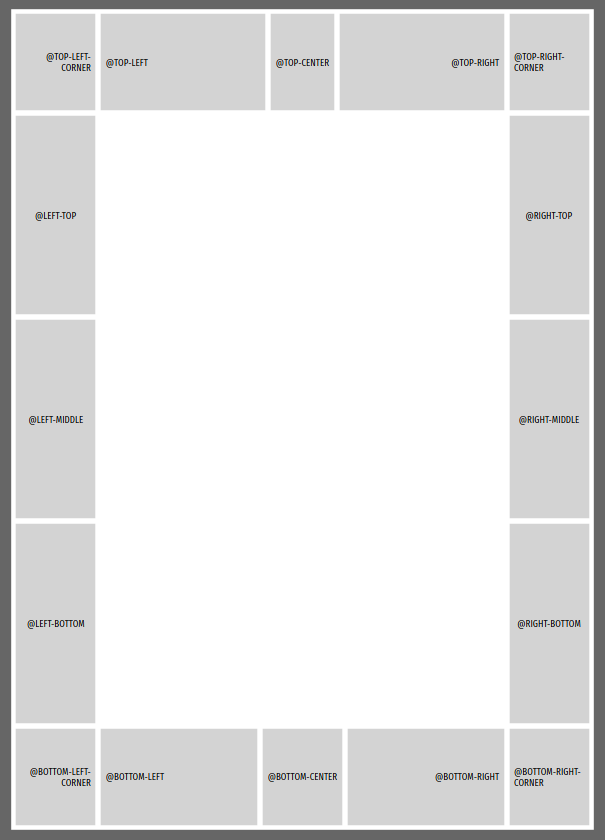
Well, if you ever done a pdf template from html, you know that the printable page is split in these sections, like in the photo bellow:
One of the problems I struggled with for some weeks was the fact that I couldn't put in the footer such a long address split on 2 lines, because if you put any content in one of the @bottom-right elements, when the content reaches the margins, it will break to a new line.
Same would be if you want to have something like this in the header of each page:
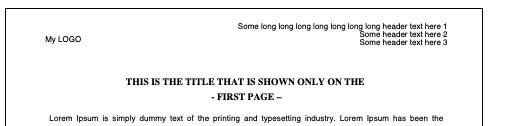
And how do you even print a title at the very beginning of each page, without using a page-break, because the content is dynamic?
Here is what I discovered. Whenever you want a long text in the top / bottom of the printable page, you select only one of the elements. The layout I used here was put in @top-center and @bottom-right, although it's split on the whole page.
I used a content: element(header-top-data); in the @top-center and position: running(header-top-data); in the class of the actual header html. And a content: element(header-first-top-data); in the @page:first @top-center block.
That's right, I used two headers for the pages. One for the first page, and one for the other pages. The second header included the title of each page.
For the spacing, I used in the @page the following padding-top: 120px; padding-bottom: 40px; margin: 11mm 15mm 15mm 17mm;. This made on each page the content to start at a padding top of 120px and end at a padding-bottom of 40px; In these spaces the actual header and footer are inserted. On @page:first I used a smaller padding-top, because I had a smaller header.
For the footer I used a content: element(footer-right-data); in the @bottom-right with a position: running(footer-right-data); for the .footer-data html element.
I also used a .page-counter html element that had a dynamic content inserted in it's :before pseudo element content: "Page " counter(page) " / " counter(pages);
Note that page and pages are values that the html automatically creates and you can access them in your styles.
<style>
@page {
  @top-center {
    content: element(header-top-data); // the header element on all of the pages
  }

  @bottom-right {
    content: element(footer-right-data); // the footer element on all pages
  }

  size: A4 portrait; // the orientation and size of your print
  margin: 11mm 15mm 15mm 17mm; // margins for your print

  padding-top: 120px; // spacing for your header on all pages
  padding-bottom: 40px; // spacing for your footer on all pages
}

@page:first { // styles only for your first page
  @top-center {
    content: element(header-first-top-data); // the element on the first page
  }

  padding-top: 60px; // spacing for your header on the first page
}

.header-data {
  position: running(header-top-data); // setting the .header-data class as the element to be inserted in the top-center on all pages
}

.header-first-data {
  position: running(header-first-top-data); // setting the .header-first-data class as the element to be inserted in the top-center on the first page
}

.footer-data {
  position: running(footer-right-data); // setting the .footer-data class as the element to be inserted in the footer
}

.page-counter:before {
  content: "Page " counter(page) " / " counter(pages); // using the values generated by the html; these update dynamically depending on your content
}
</style>
Note that the .header-data, .header-first-data and .footer-data are the classes of the html wrappers of the content you want to insert in your headers and footers.
content: element(html-element-indicator); is the one that actually inserts the element that is indicated by the html-element-indicator;
position: running(html-element-indicator); is telling to your styles that this is the html element to be inserted.
html-element-indicator this is the only place you will use this value. You won't use it in your html template, just in the styles as a binding value between the content and the class of the element.
For the html, it's important that you use tables, if you want the full page layout. It won't work with divs. You can get creative with the contents of the headers/footers and use position: absolute, margins, paddings, font-sizes, colours, etc to make them stand out.
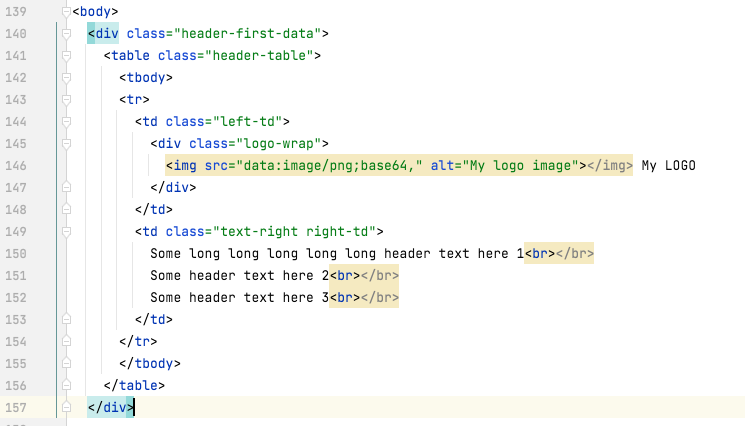
The actual html looks like this
Header for the first page
Header for the rest of the pages
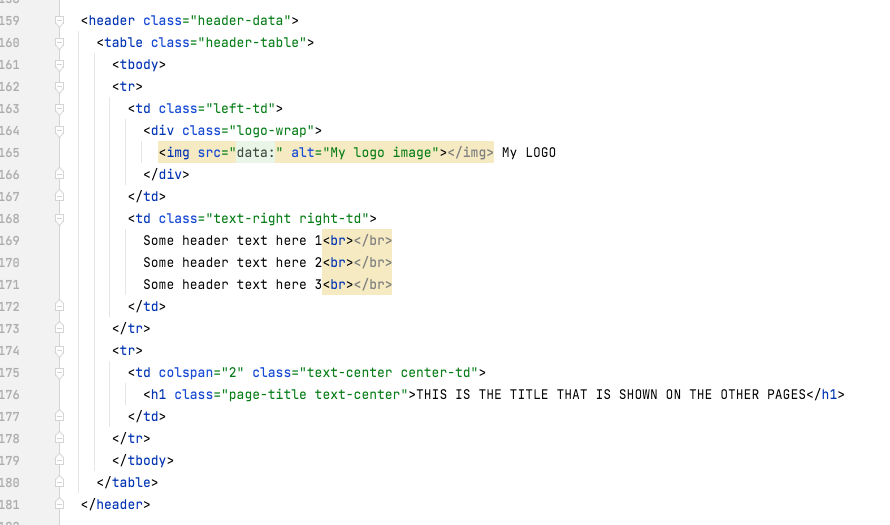
The footer
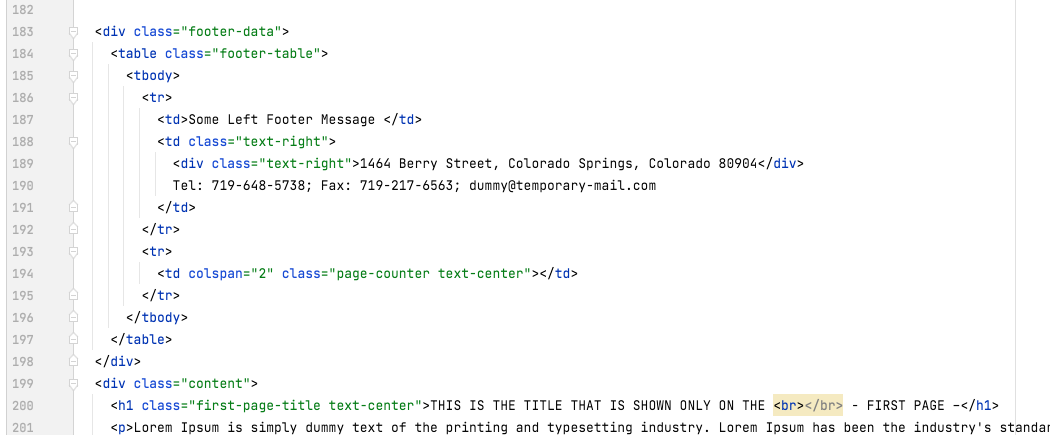
Note that all of these elements are ahead of the content, or else they won't be displayed on each page.
Also note that the title for each page was added in the html header and the title for the first page was added in the content, as you need this only on the first page. In the header and footer you can add whatever you need to repeat on each page.
Bonus
If you need to split your page somewhere specific, use this class on a span element in the html.
.page-next {
       page-break-before: always;
     }
For the actual template generation, you can use pdfjs-dist